In the previous post, we have seen Row Layout widget. Let’s look at another Layout widget i.e. Stack.
Sometimes, Row and Column widgets are simply not enough. We need to keep widgets on top of each other. E.g. Keeping text over an image, having a gradient-colored box with a button at the bottom, etc. In such cases, the Stack widget is useful. It overlaps the widget one over the other.
Stack widget has two types of child widgets, positioned or non-positioned. We will see the positioned widget in a subsequent post.
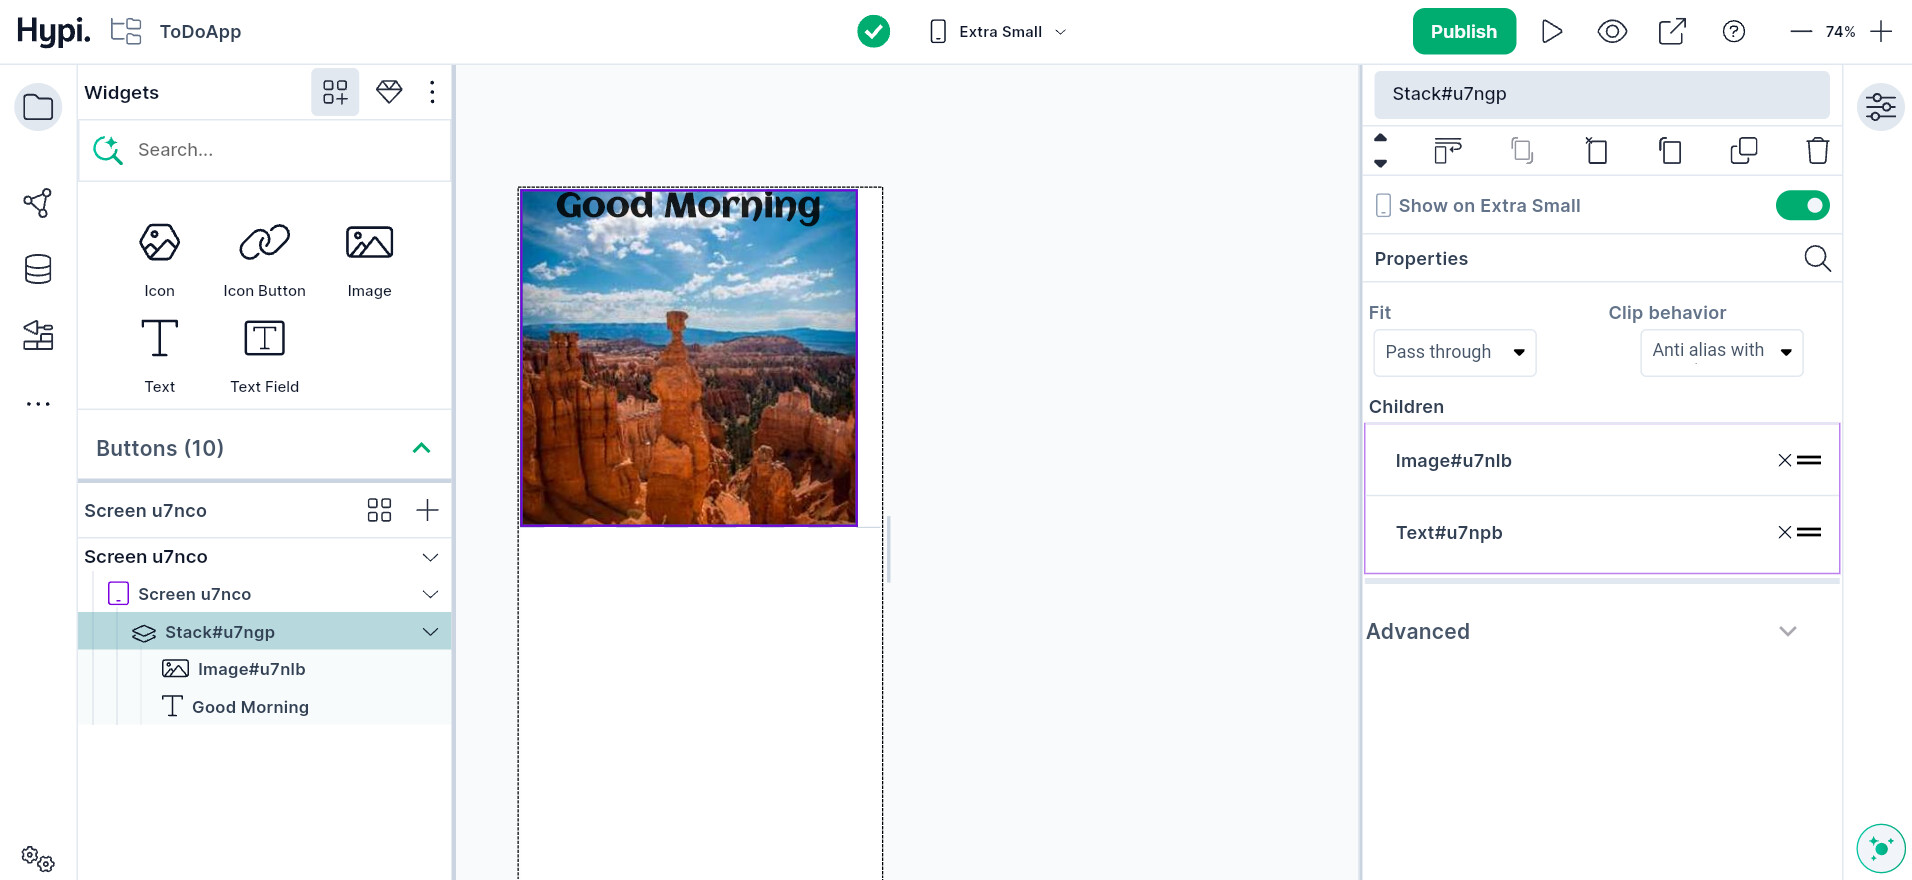
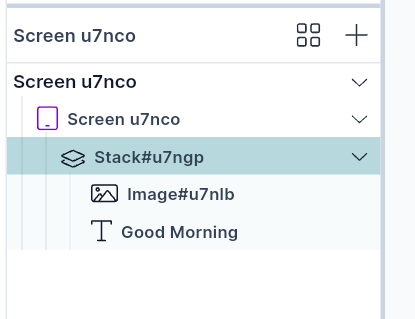
Let’s put a text widget over an Image widget. Use a stack and put an Image widget as the first widget. The first widget acts as the bottom widget. Then put an Image widget over it which will act as a Top widget. Adjust the size of the Image and Text widgets.
Through the Alignment property, we can adjust the horizontal and vertical position of the Top widgets.
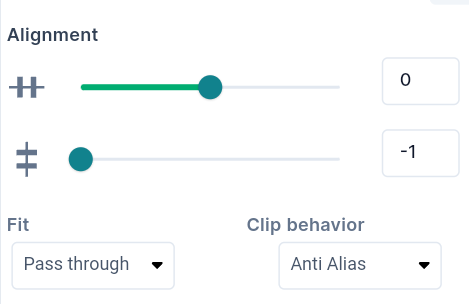
fit property controls the size of non-positioned children widgets in the stack.
It has three types .
- loose: This attribute is used to set the child widget small.
- expand: Makes the child widget as large as possible.
- passthrough: Sets the child widget depending on its parent widget.
If the content overflows the stack boundary, then there are the following ways to clip it.
- anti Alias - Clips the edges to have a smoother look.
- anti Alias with Save Layer - Clips with anti-aliasing and saves the Layer immediately following the clip. This process is slower than Anti Aliasing and is rarely used.
- hard Edge - This is the fastest clipping with low fidelity. No anti-aliasing, or smoothening of edges applied.
To know more about Stack, check out the below video.
Disclaimer: The attached video is from @Flutter who is not associated with Hypi.